
Fix Your Stream Audio: A Practical OBS Microphone Guide
Your viewers can forgive a stream that is a little less sharp. They have a much harder time following a voice buried under game audio, doubled by an echo, or chopped up every time you stop speaking. The fix usually starts before you buy another microphone: establish a clean signal, make a short test recording, and change one thing at a time.
This guide walks through a practical setup for OBS Studio, from microphone placement and gain to a few filters that solve specific problems. It does not assume one magic preset will work in every room. Your microphone, keyboard, fans, speaking voice, and audio interface all change the right settings.
Start with a recording, not a filter stack
Open OBS and create a short local recording before changing anything. Speak at your normal streaming volume, whisper a sentence, laugh or raise your voice, and leave several seconds of silence. Play your usual game or a representative audio clip while you talk. If you use voice chat, include a willing friend or a test source so you can hear how all the pieces fit together.
Listen back through headphones at a comfortable level. Write down the actual problem: your voice is too quiet, the keyboard dominates the pauses, a sentence cuts off, your game covers your voice, or the whole signal sounds crunchy. Those problems require different fixes. An audio meter is useful, but it cannot tell you whether your voice sounds natural or whether a listener understands you during an intense moment.
Make a second recording after each meaningful change. Keep the same test phrases and roughly the same speaking position so the comparison means something. If a change makes the recording worse, undo it before moving on. OBS explains its meters and audio signal path in the Audio Mixer Guide.
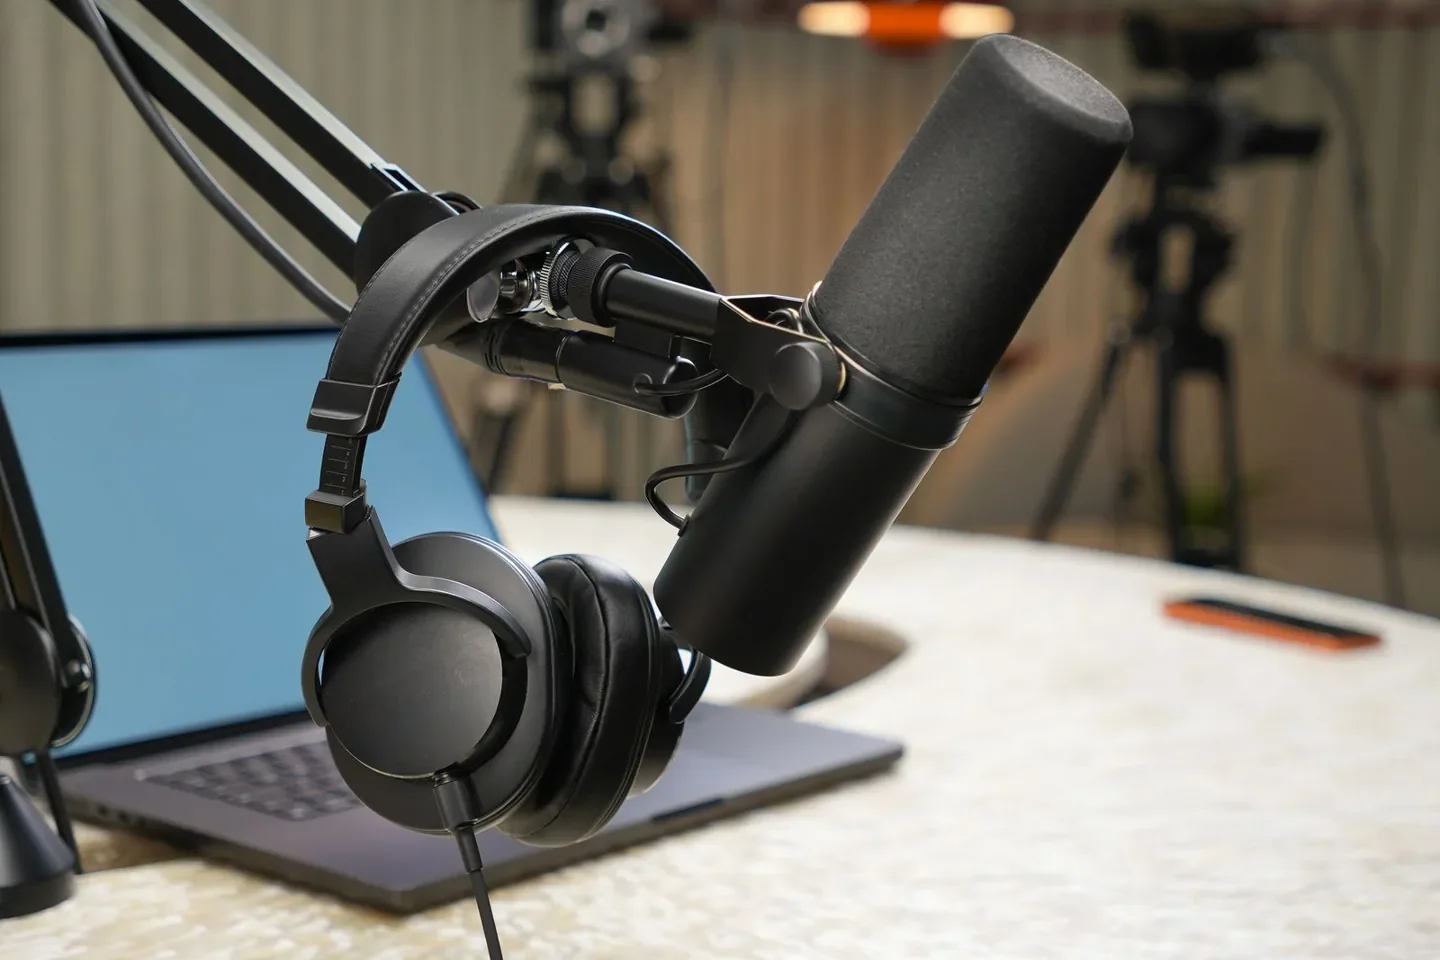
Photo: Jakub Zerdzicki on Pexels.
Put the microphone where it can hear you
Move the microphone closer to your mouth before turning up the input. A mic across the desk needs more gain to hear you, which can also make room noise and keyboard clicks more noticeable. A starting distance of roughly four to eight inches is useful for many desk microphones, but check your microphone's instructions and adjust for your voice. Headset microphones may need a different position.
Aim the correct side or end of the microphone toward your mouth. Some microphones pick up sound primarily from the side of the grille; others are designed for you to speak into the end. Check the model's markings or manual rather than assuming the shape tells you. Place the microphone slightly off to the side of your breath path, and use a pop filter or windscreen if bursts of air produce thumps on words beginning with P or B.
Make the room work for you. Close a noisy window, move a fan away from the mic, and avoid placing the microphone directly above a loud keyboard. Soft furnishings can reduce some reflections in a hard room, but they will not soundproof it. Listen to a fresh recording before spending money on foam panels or another piece of gear.
Set input gain before adjusting the OBS fader
There are several places where a signal can become too loud or too quiet: the microphone or interface, your operating system, and OBS itself. Start at the earliest controllable point. If your microphone or interface distorts before the audio reaches OBS, a filter or lower OBS fader cannot recover the clipped waveform.
Set the input so ordinary speech is clearly registered and your loudest realistic reactions leave headroom below the top of the meter. OBS uses dBFS, a digital scale where 0 dBFS is the ceiling. A practical starting point is to have normal speech somewhere around the middle of the active range and loud peaks comfortably below 0 dBFS. Exact peaks vary by voice and processing, so do not chase a single number at the expense of clarity.
Use the mic's hardware gain or interface control first when available. Then confirm the correct input is selected in OBS. The OBS Gain Filter documentation recommends setting gain at the source where possible; software gain can help a quiet signal, but it also raises whatever noise came in with it.
If a test shout sounds distorted even though the OBS fader looks low, reduce gain earlier in the chain and record again. If you can barely hear ordinary speech despite a healthy input meter, inspect the source fader, output mix, and playback volume before turning every knob up.
Build a clean signal path
Your stream should receive each sound once. A common echo happens when the same microphone is captured as a global audio device and also added again as a scene source. Another occurs when OBS monitors a source through speakers and then captures those speakers as desktop audio. A third can come from a friend's speakers feeding your voice back into their microphone.
Start by listing what you need the audience to hear: your microphone, game audio, voice chat, alerts, and any music you are permitted to use. Find the source for each in the OBS Audio Mixer. Mute one source at a time during a test recording and check which sound disappears. If muting one of two duplicate microphone sources still leaves your voice in the recording, remove or disable the extra route once you have identified it.
Headphones make diagnosis easier because they keep your speaker output from feeding back into your mic. If you enable audio monitoring, understand which device receives that monitored signal and whether OBS is also capturing it. OBS documents monitoring in Advanced Audio Properties in its mixer guide. Avoid changing global devices and scene sources at the same time; isolate the duplicate first.
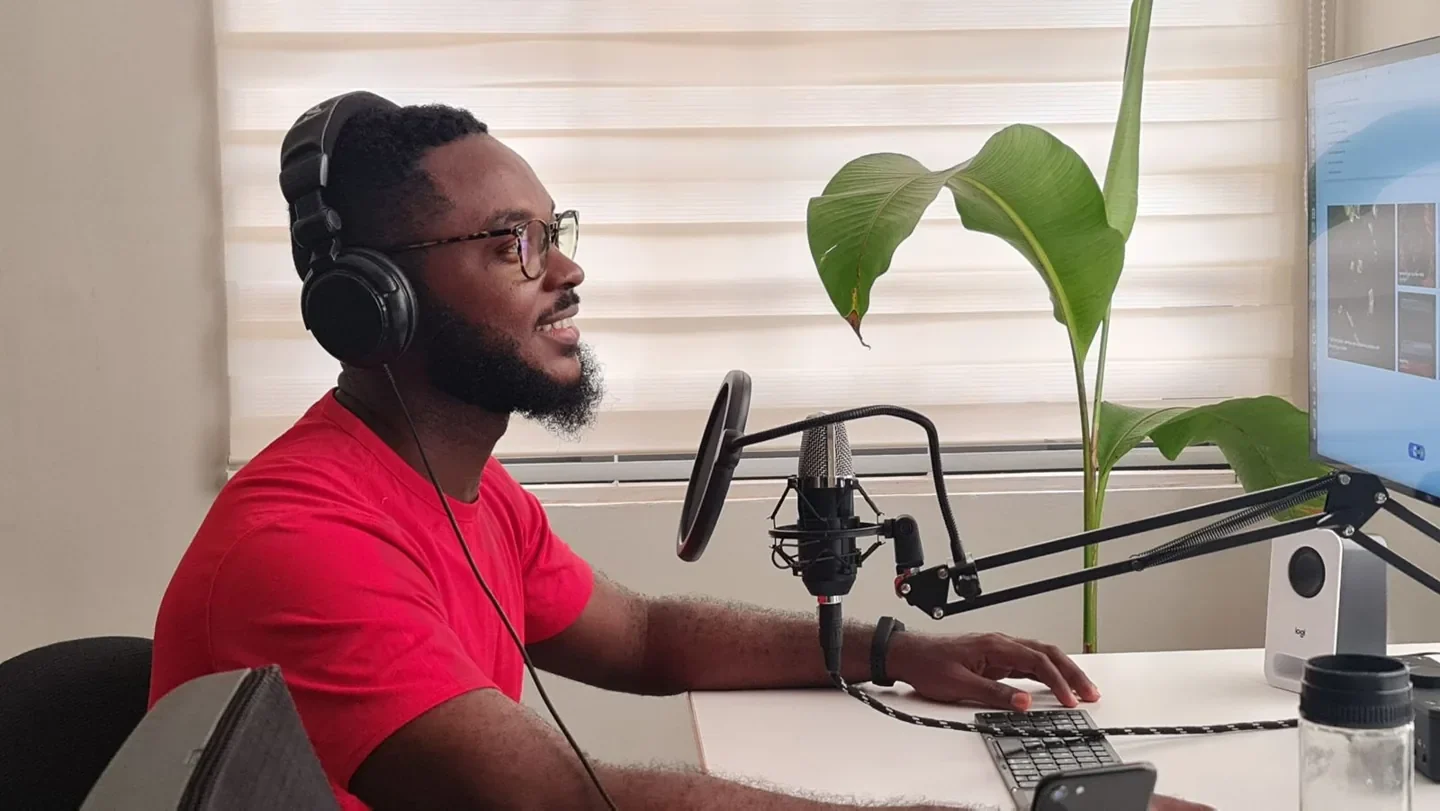
Photo: Emmanuel Jason Eliphalet on Pexels.
Use filters to solve one problem at a time
In OBS, open the microphone source's filters from the Audio Mixer. Filters process the source in the order shown, and changing the order can change the result. Start with a clean input, then add only the processing you can justify by listening. OBS lists its built-in options in the Filters Guide.
Noise suppression for steady background noise
Use noise suppression when an audible fan, air conditioner, or other steady background sound remains after you improve placement. The OBS Noise Suppression guide describes it as a tool for mild background or white noise. Available methods depend on your system and OBS installation.
Turn it on, record normal speech, and compare it with the original. Listen for a watery or robotic voice and for consonants losing detail. If the voice sounds damaged, reduce the processing where the chosen method allows it, try another available method, or address the noise physically. Suppression is not a reliable substitute for moving a loud fan or lowering excessive input gain.
An expander or gate for noise between words
A gate reduces or closes the microphone signal when it falls below a threshold. An expander can reduce quiet sound more gradually. Neither knows the difference between your keyboard and your voice when they happen together, so a gate is not a cure for every click.
Set thresholds using your own meter readings and recordings. In OBS, the close threshold must be below the open threshold. Start by observing the room while you are silent, then speak softly and set the opening point low enough to catch the beginning of your words. Adjust hold and release so the end of a sentence does not vanish abruptly. The OBS Noise Gate guide explains these controls.
Test quiet speech, laughter, and a sentence that starts with a soft consonant. If the first syllable disappears or the mic pumps open and shut between words, ease the settings or use an expander instead. OBS describes an expander and its threshold, ratio, and timing options in its Expander guide.
Compression for an uneven voice
A compressor reduces the difference between louder and quieter parts of a signal when the sound crosses a chosen threshold. It can make a voice easier to mix against a game, but it does not fix an already distorted microphone. Too much compression can make breathing and background noise more obvious or make your voice sound unnaturally flat.
Begin with a modest ratio, such as 3:1, and lower the threshold until your louder speech triggers some gain reduction. Treat that as a starting experiment, not a universal setting. Adjust attack and release by ear, compare the processed and unprocessed recordings at similar perceived loudness, and add output gain only if needed. The OBS Compressor guide explains the threshold and timing controls.
A limiter for occasional peaks
A limiter near the end of the chain can catch unexpected peaks before they reach the digital ceiling. It is a safety net, not permission to keep the input gain too high. If the limiter is working constantly, return to the microphone gain or compressor and make the source more manageable.
Leave a little margin below 0 dBFS and test a realistic loud reaction. The OBS Limiter guide recommends placing the limiter last. There is no need to add every filter just because it exists. If a clean microphone and sensible gain sound good on their own, that is a valid setup.
Photo: Los Muertos Crew on Pexels.
Make your voice understandable over the game
The right balance is the one your audience can follow, not the one that makes every meter look equally active. Record a section with ordinary commentary and a section with the loudest game effects you expect. Play both back on headphones and, if possible, on a phone speaker. If you have to strain to understand the words, lower the competing source or adjust the voice mix.
Keep game, chat, and microphone sources separate in OBS where your setup permits. Separate controls let you lower a loud game without also lowering your voice. If your console, capture card, or voice-chat app combines several sounds before they reach OBS, you may need to change their balance in that device or application first.
Be careful with automated ducking, which reduces one source when another becomes active. It can help when a game regularly masks speech, but an aggressive setting can make the game pump up and down every time you speak. OBS supports compressor sidechain ducking; test it during a real conversation before making it part of your routine.
Volume changes also affect alerts. A notification that sounds exciting during setup can overwhelm your voice or surprise a headphone listener during a quiet scene. Trigger each alert in a test recording and adjust it alongside the game, rather than treating it as a separate afterthought.
Troubleshoot by symptom
| What you hear | Check first | Next move |
|---|---|---|
| Distorted or crunchy speech | Microphone or interface gain, including loud reactions | Lower gain before OBS and record again |
| Your words begin or end abruptly | Gate threshold, hold, and release | Ease the gate or try a gentler expander |
| Your voice sounds robotic | Noise suppression strength and method | Compare with suppression off and reduce room noise |
| Your voice appears twice | Duplicate mic capture and monitoring routes | Mute sources one by one to isolate the extra path |
| Game audio covers your voice | Game, console, and voice-chat mix | Lower the competing source and retest on a phone |
| One scene is silent | Scene source, mute state, and track routing | Compare the working scene and verify the active device |
If the problem appears only in a recording, check which audio tracks OBS is writing and which track your player is playing back. If it appears only on the live broadcast, verify the stream output track and your platform's playback. Do not assume every recording, stream, and monitoring route uses the same track. OBS explains the distinction in its multiple audio tracks guide.
When a device disappears after reconnecting it, check that OBS is listening to the intended device rather than an operating-system default that changed. A quick scene-by-scene check after a driver update or headset swap can save an entire broadcast.
A five-minute preflight before you go live
Run the same short routine before your next stream. It is faster than discovering a missing microphone after your best moment of the night.
- Select the right scene and devices. Confirm that the intended microphone, game, voice chat, and alert sources appear in the mixer.
- Watch and listen. Speak normally, play a loud game moment, and look for clipping or an inactive source. Use headphones to check for obvious echo.
- Trigger an alert. Confirm that it is audible without overpowering your voice.
- Make a short recording. Include quiet speech and one louder reaction, then listen back to the actual recording.
- Check the stream output. Confirm the intended mix and track are selected for your broadcast, especially after changing devices or scenes.
If you change a filter, save a note about what changed and why. A simple note such as "lowered gate threshold because quiet words disappeared" is much more useful than a screenshot full of numbers you cannot explain. Keep a known-good profile or scene collection before experimenting so you can return to it.
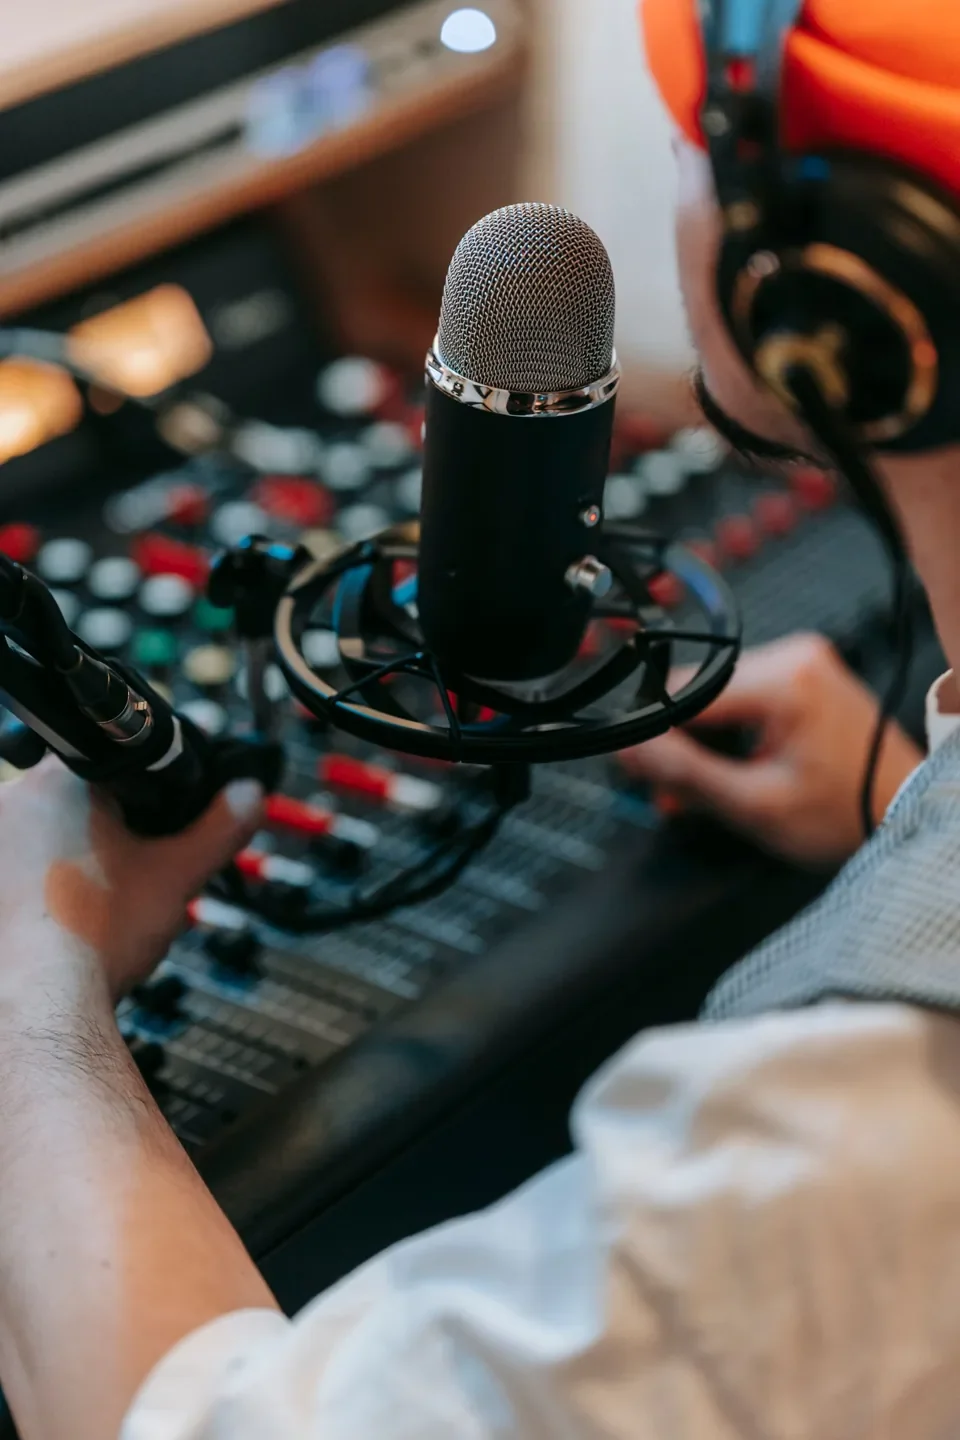
Photo: Anna Pou on Pexels.
Give your viewers a voice they can follow
Start with the microphone position and a clean input. Then fix routing, balance the game against your voice, and add processing only when a recording reveals a problem. The best OBS settings are the ones that survive your quiet explanation, your loudest reaction, and the game you actually play.
Once your audio is reliable, revisit the rest of your setup with our Twitch settings guide. Spend less time chasing someone else's preset and more time making a broadcast your community can hear.
Related reading

Written by
ApexInterfectum
Co-Founder, PUG Empire | Army Veteran | Full Stack Developer
ApexInterfectum is an Army veteran and co-founder of PUG Empire, a competitive gaming community built on coordinated team play and continuous improvement. He brings a full-stack development background to community tooling and content infrastructure, and serves as technical subject matter expert across the Dirty Rice platform. His writing covers the systems and strategies behind sustainable content creation, competitive growth, and modern streaming workflows.
Community Rating
Rate this article:
Intel & Reactions - (0)
Sign in with Discord to join the conversation.
No comments yet. Be the first to drop some intel.